

How To Nscribe Copper Garden Markers
Make Classic Copper Plant Markers
See how to make classic plant markers

With some copper sheet metal and wire you can make a bushelful of plant markers in no time. The best part … they're sure to last. Unless you run them over with the lawn mower!
You might also like: TBD
Make Classic Copper Plant Markers
Finding plant markers that can withstand sun, wind and rain is a challenge. And you want them to be attractive, easy to make and reusable year after year. These cheap, durable plant markers are the perfect solution. Don't limit yourself to the shapes shown here. Be creative! And if warmer weather still hasn't arrived, check out these 10 indoor plants that grow well in winter.
Safety First!
- When working with a soldering gun or torch, keep a fire extinguisher or a bucket of water close by. It's better to have it nearby and not need it.
- Remember that the metal stays hot for a while after it's been heated. Handle finished pieces with pliers until they cool.
Project Directions:

1. Make Shapes
Make your own paper shapes and cut about 1/8 in. from the edges. Tape them to the copper sheet metal. Cut the copper along the outline of each shape using a scissors. Sand sharp edges. Punch any holes desired with a paper punch. Flatten each shape with a roller, rolling pin or even a glass bottle on a smooth surface.
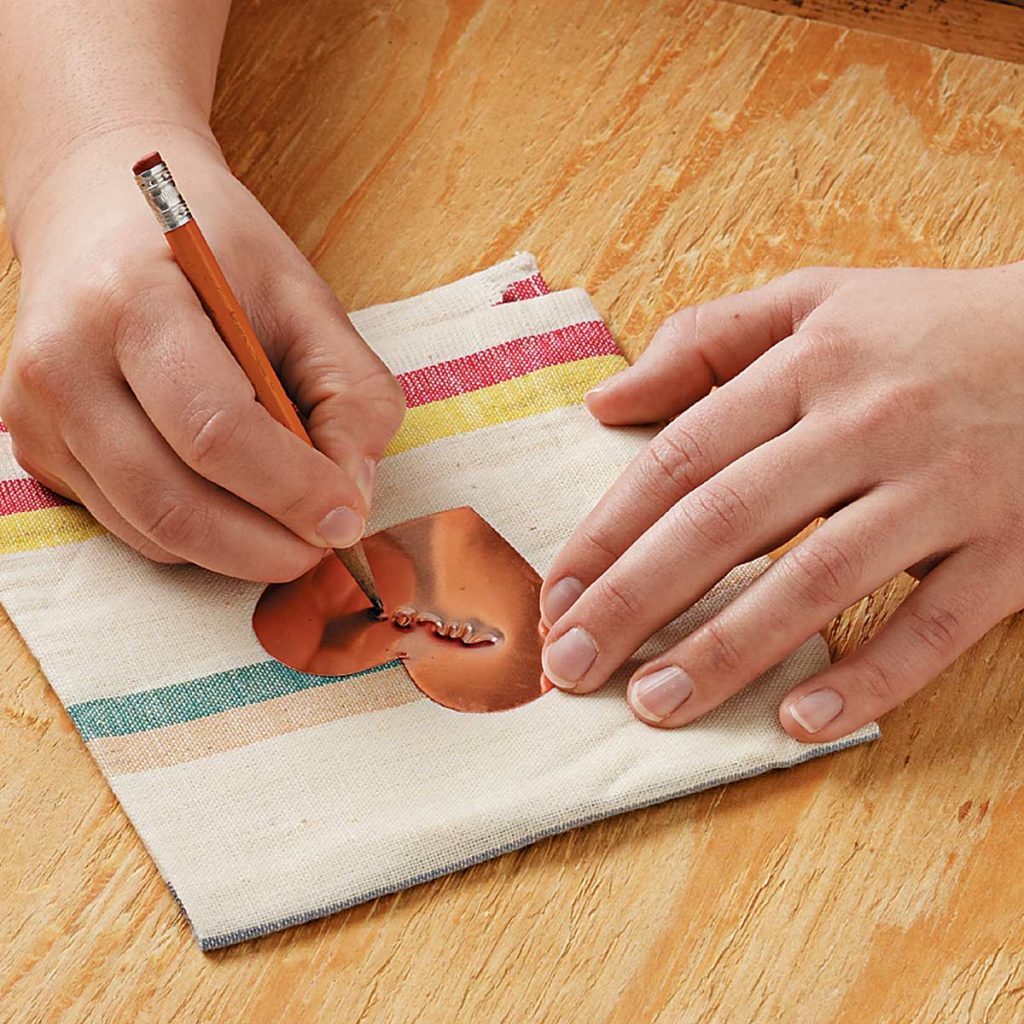
2. Write Plants Names
Place the copper shapes on a soft pad (such as a dish towel) and write plant names with a blunt pencil. Use a black paint marker to write within the indents, making the names more prominent. Decorate the edges if desired.
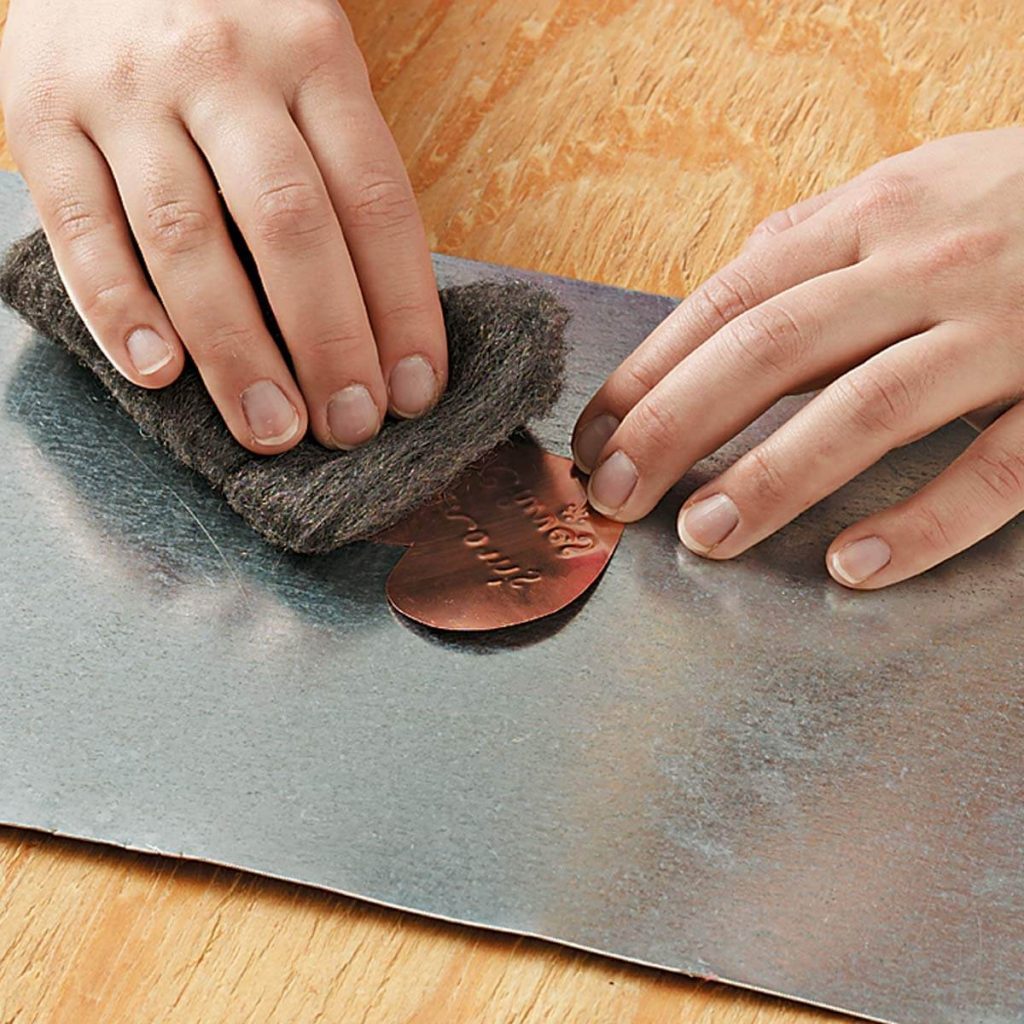
3. Use Steel Wool
Clean shapes and wires with steel wool or sandpaper before soldering.
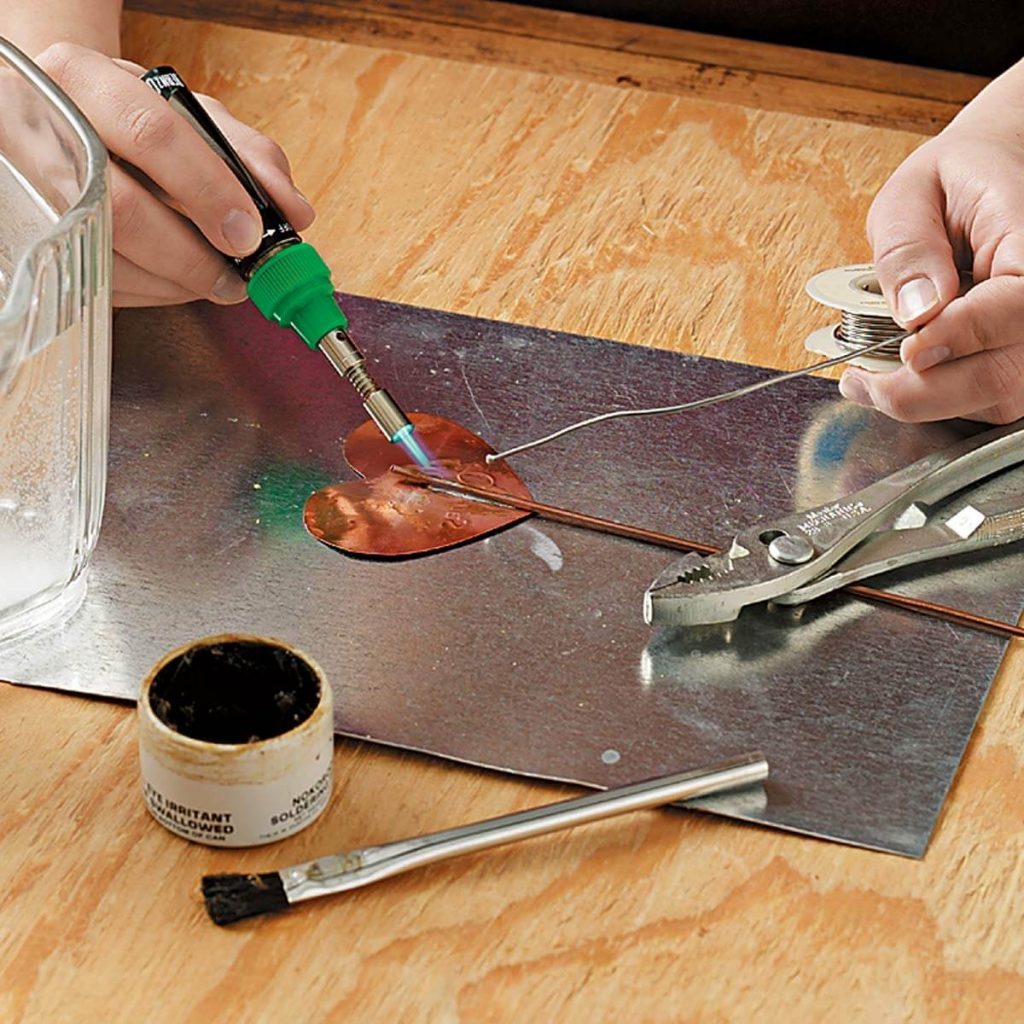
4. Solder on Stand
Cut wire with side cutting pliers to desired length (mine are about 10 in.). Solder wire to the back of each marker. Apply flux first and heat until it bubbles. Then touch the solder to the side of the wire until it flows. Solder on both sides of the wire, holding the wire in place until it cools. Spray the markers with clear enamel to prevent tarnishing.
Once you are done with this project, check out how to put together a garden path that grows!
Project Information:
Shopping list:
- 36-gauge copper sheets
- 12-gauge wire
- Paint marker, extra fine, black
- Colored paint marker (optional)
- Transparent tape
- Clear enamel spray
Tools:
- Scissors
- Side cutting pliers
- Small rubber or plastic roller (optional)
- Soldering gun or mini torch (larger torches are not recommended for this small project)
- Solder and flux
- Incombustible soldering surface
- Fine sandpaper, 220-grit
- Fine steel wool
Similar Projects
How To Nscribe Copper Garden Markers
Source: https://www.familyhandyman.com/project/make-classic-copper-plant-markers/
Posted by: garlandfrome1953.blogspot.com
0 Response to "How To Nscribe Copper Garden Markers"
Post a Comment